Sunday, June 26, 2011

well, i’m back! it’s been a busy summer so far, but hopefully i will make more time for blogging now that it has settled down a bit.

check out this super easy storage / display project i tried out this week.

MASON JAR CONTAINERS
what you'll need:
- wood block (you can use scraps or purchase pre-cut blocks)
- Mason jars (any size)
- hose clamps (found at Lowe's / Home Depot)
- paint (if preferred)
- various sized screws

i purchased pre-cut wood blocks from Hobby Lobby, and painted them an accent color from our Bonus Room. 
next, decide where you want the Mason jar positioned on the wood block, 
and this is where you will attach the hose clamp. the most difficult step in this 
project will probably be drilling a hole in the hose clamp. you will need to do
this so you can attach it to the wood block with a small screw.
once you have a hole drilled, you can attach the clamp to your wood 
block as seen below.
now it's as simple as sliding the Mason jar into the hose clamp and tightening
the clamp to hold the jar securely. 
the last step is to hang on the wall and fill with goodies!
some ideas:
- flowers 
- pens and pencils in the office
- candles
- potpourri

i filled mine with darts since these are hanging in the "man cave" next to 
my husband's dart board. 
ENJOY!


Thursday, May 26, 2011

Not Your Average Bulletin Board


here’s a super easy spin on the bulletin board of the past. no cork necessary.

what you'll need:
frame of any preferred color, shape or size
screws
wire
clips

 
you can choose to purchase a new frame, or re-use an old one as i've done. i wanted to create a white frame, so my first step was painting a black frame that i had lying around.

once your frame is ready, measure and attach screws along edges of frame.


after the screws have been added you can attach the wire by simply wrapping it around the screw on one side of the frame, and stretching it across to the other side. 


it’s as simple as that! use clips to attach pictures, mementos, ticket stubs, etc.


Sunday, May 22, 2011

Fluff Up Your Home for Summer


one of the easiest ways to change up the vibe of your home for summer is to swap out your throw pillows. for those of you shopping on a budget like me, here are 5 pillow combos from my favorite stores for under $100. 
 what are your favorite ways to change up the look of your home?


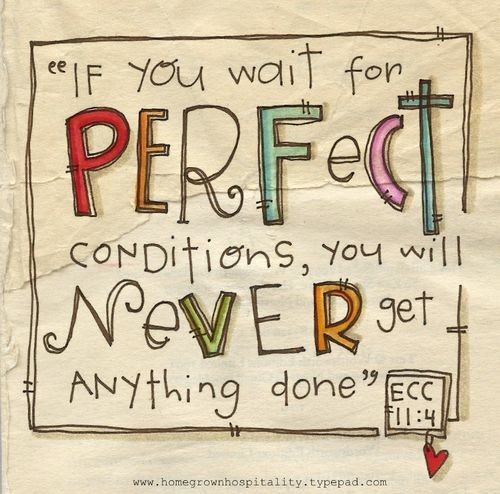
Sunday Funday Quote

the time is now, my friends...

Saturday, May 21, 2011

Quilling


for my FIRST EVER blog post, i want to share a unique paper craft technique that i came across a few months ago on a blog i frequent, For Print Only. it is called QUILLING and while it looks pretty intense, it is so simple (and therapeutic) to do. you can try it for yourself by following my tutorial below. 

Supplies you'll need:
Paper - I use solid color scrapbooking paper
Adhesive - I use Mod Podge
Paintbrush to apply the adhesive
Quilling Kit - can be purchased at Hobby Lobby
       (includes tiny scissors, tweezers, and quilling tool)
Pencil

tweezers, quilling tool, scissors

 
first, decide on an image that you wish to quill. so far, I have created letters, a cupcake, and an anchor. you can either print an outline of the image from your computer or hand-draw the image yourself (I chose the latter which makes it more unique). be sure to draw very lightly so you can't see the lines after they're covered with paper. next, you'll need to cut your paper into 1/4" strips. i use a ruler and a razor blade.

now, the fun can begin! first, you'll want to choose your outline color and attach the paper strip around the outline you've printed or drawn. don't get frustrated with this step, because it is the hardest...once you have the outline complete, it's a breeze.
 use your quilling tool to roll the paper strips into the desired shapes and attach them inside your outline using adhesive. continue this process until you have filled in your shape!
once complete, you can mount your quilled shape onto a patterned piece of scrapbook paper and frame.

 
your family and friends will be blown away by this unique craft...little will they know it’s actually fun and easy to do!